

EPISODE 50
“Goodbye. I hope we meet again.” – Leader Desslok
The end of the week brought us one of the all-time greatest episodes of STAR BLAZERS and also one of the best animated. You can tell that the original Japanese production crew knew that they were making something special here in the added time and expense that was spent on this episodes. Certain shots and sequences were beautifully and lovingly rotoscoped, a technique not often associated with Japanese animation. It’s a home run knockout to bring the broadcast week to a close.
But before we get into the episode proper, it’s probably worth providing some background information and context. This is all stuff that nobody watching STAR BLAZERS would have been aware of, but it’s critical nonetheless. Originally, the first series of YAMATO was a bit of a bust in Japan, and it wasn’t until STAR WARS was released that a groundswell of fan interest in the property led to a compilation film being released that edited that first season into a single picture. It was a monster hit, and so a sequel was the next logical step. That sequel, SARABA UCHU SENKAN YAMATO, told the story of the Comet Empire invasion of Earth and killed off most of the cast along the way, including Desslok, and eventually the great ship itself in the final moments–Wildstar, with Nova’s dead body seated next to him, chooses to kamikaze the Yamato into Zordar’s final battleship to protect the Earth, at the cost of his life.
SARABA, if anything, was an even huger success story than the first film, and the producers began to think they may have made a mistake in killing their golden goose. At the same time, some of them–notably cartoonist Leiji Matsumoto who was one of the co-creators of the series, was uncomfortable with the kamikaze ending of SARABA and what it was teaching the children of Japan in those postwar days. So when the opportunity came to expand the story in a new television series, YAMATO 2, all involved say this as a chance to change fate, leaving the ship and crew alive enough at the end where further sequels would thereafter be possible. But consequently, YAMATO 2 hits certain narrative notes that would have been familiar and tension-generating for SARABA audience members–and the standoff between Wildstar and Desslok that opens this episode is one of them. In the film, it’s Desslok who is wounded here, not Wildstar, and after Nova takes a shot aimed at him–a shot which results in her becoming paralyzed from the waist down–he repents his vendetta against the Yamato and hurls himself into the void of space to his death–but not before giving Wildstar a vital clue as to how to defeat the Comet Empire. But YAMATO 2 was going to play out differently. How differently? Let’s take a look.
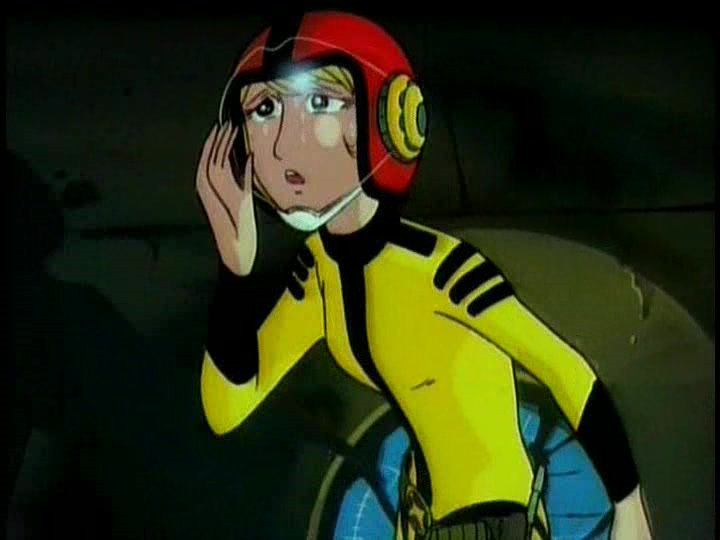


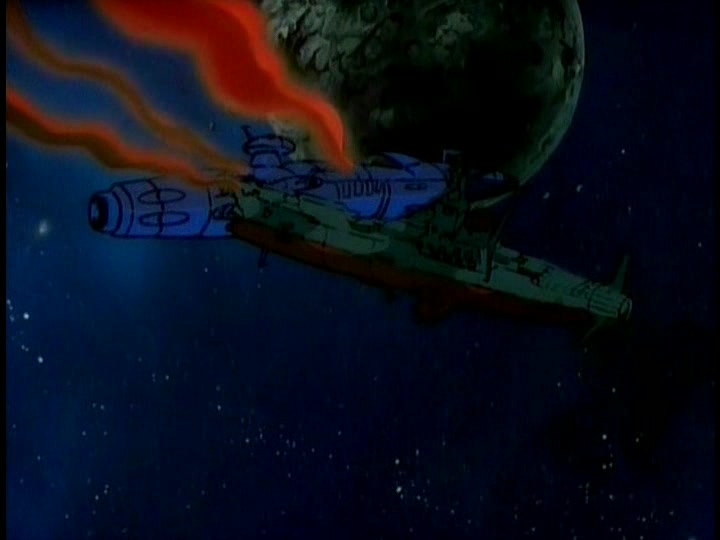
The episode opens on the Argo and Desslok’s flagship, still smashed together. Fighting is going on between the scattered Gamilon forces and the space marine landing party. Nova makes her way through Desslok’s ship, searching for Wildstar. But Wildstar has found Desslok and Talan on the bridge, and despite the fact that Wildstar is badly wounded (amazingly, STAR BLAZERS doesn’t edit out the blood in this sequence) he’s got the drop on the Gamilon leader, whom he tries to convince to stand down.
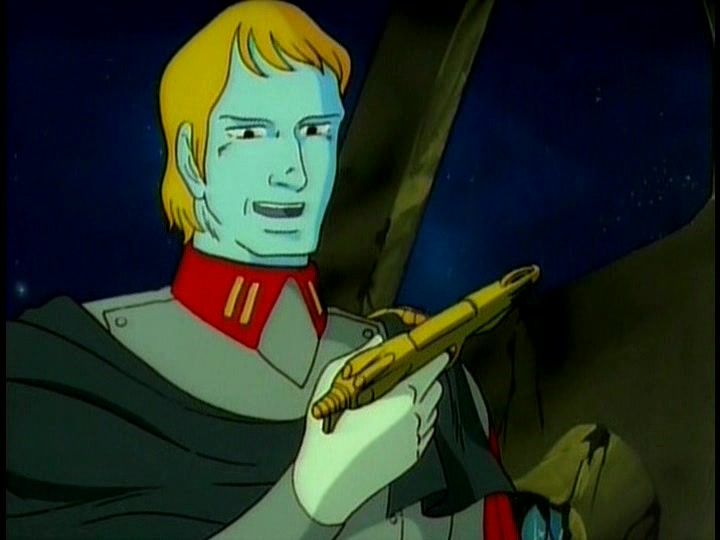
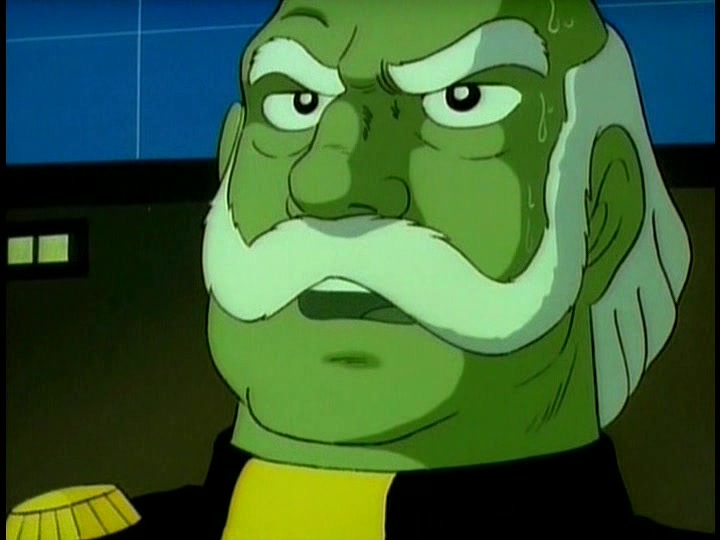
“Desslok, why are you fighting us now? Before you had a reason. Gamilon was doomed–ugh–you needed a new home. We had to fight you to defend Earth. But this is all past now, why go on fighting?” But Desslok will not relent. “You of all people should understand me. A man who fights for his homeland fights on–even when there is no hope. Isn’t that what you’re doing now? Your Earth has surrendered to the Comet Empire–yet, the Star Force goes on fighting. Yes, that’s what I’ve done. As long as I live and fight, then Gamilon lives!” Slowly, Desslok brushes aside his cloak and draws his firearm, aiming it in a gloriously exaggerated fashion at Wildstar, and bidding him to shoot. Meanwhile, Wildstar is struggling to remain conscious and upright.


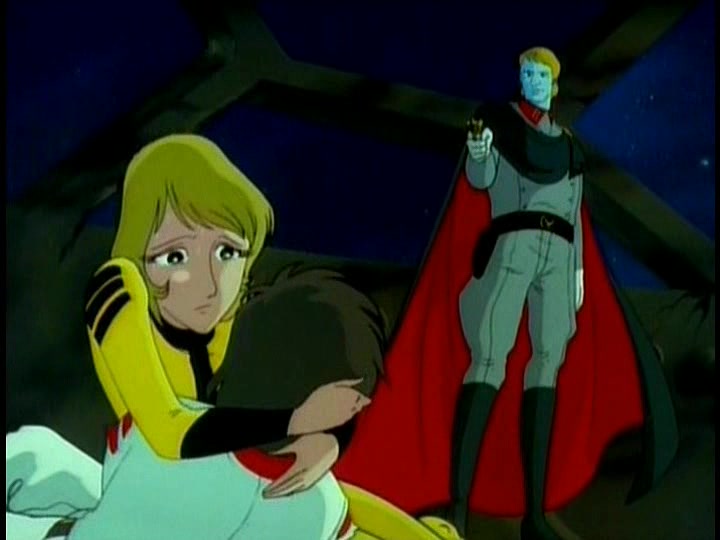


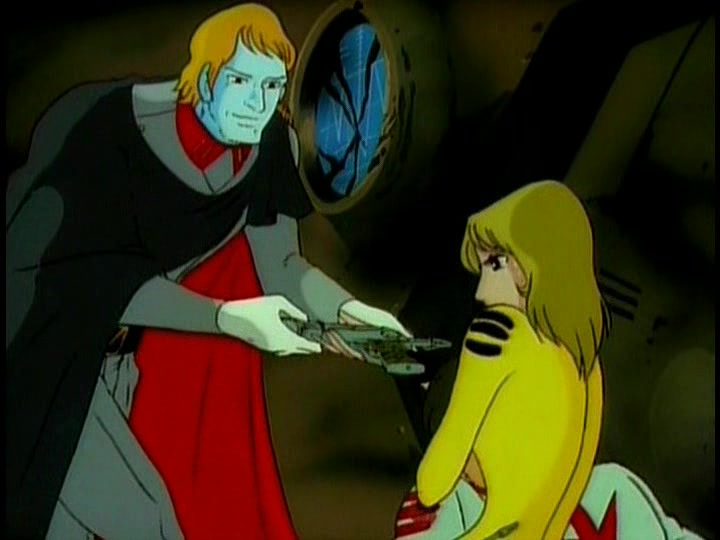
And he fails, falling backwards, unconscious. Nova rushes out from cover to defend him, snatching up Wildstar’s fallen weapon and pointing it at the surprised Desslok. But before anything further can happen, Wildstar moans, still alive, and Nova drops her weapon to tend to him, showing her undefended back to the Gamilon leader. Slowly, to Talan’s shock and surprise, Desslok’s weapon lowers to his side. And he begins to speak.
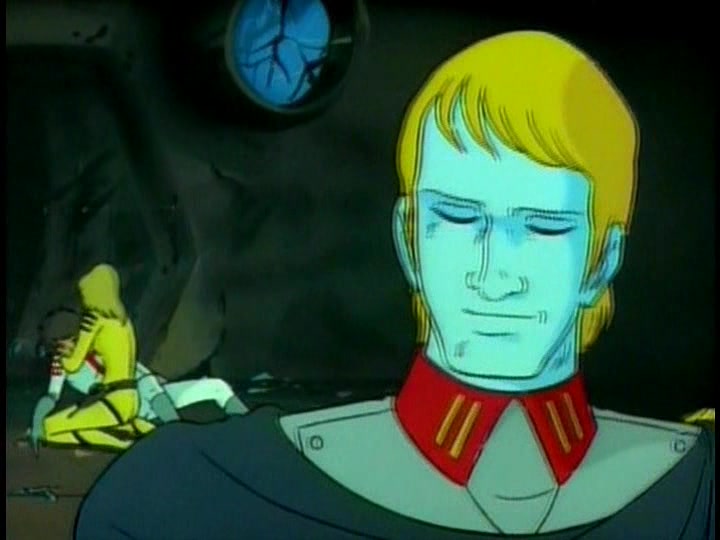
“Wildstar, I see now–something I could never let myself see. Yes. I thought I was different from everyone else. That my love for Gamilon was stronger and more noble than your love for Earth. Yes, the universe has been a lonely place for me. Always alone. All I’ve had has been my love for Gamilon. Yes, I fought long and hard to save Gamilon. I thought anything I did was right. Maybe I would do it again, but I don’t think so. There has to be a better way of life. Yes, I’ve seen it, the two of you–loving each other, and Earth, too. Love is the first casualty of war. Oh yes, I know. War does not allow us to be our better selves. To fight well, you must be hard and tough, never doubting your leaders. Never questioning. But someday war must end. Now. Yes–we can make a start today!” And he holsters his weapon.
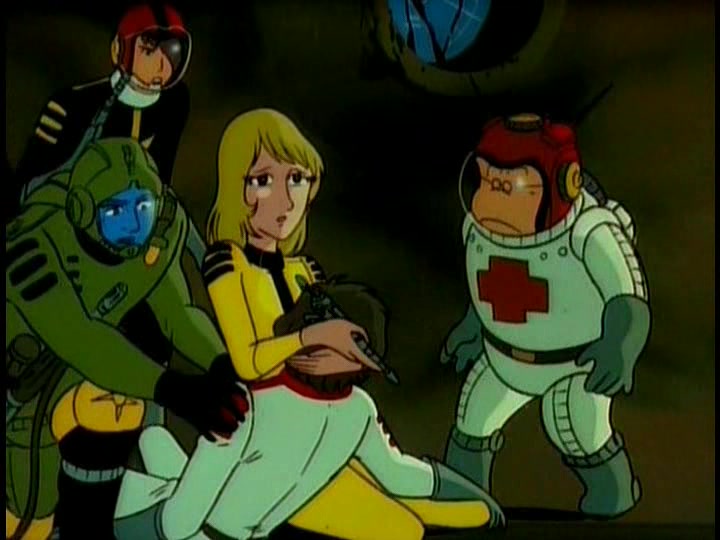
Telling Talan that they’re leaving, Desslok approaches the frightened Nova and gives her back her discarded firearm, much to her surprise. Then he addresses the half-conscious Wildstar. “Remember how you defeated me on Gamilon? You sent missiles to our weakest spot–the bottom of the volcanos. Underneath. Try it–heh–on the Comet Empire!” And he turns and walks away. The Star Force rescue team is there seconds later, and the space marines are stunned to see their enemies turning around and flying away. The battle is finished.


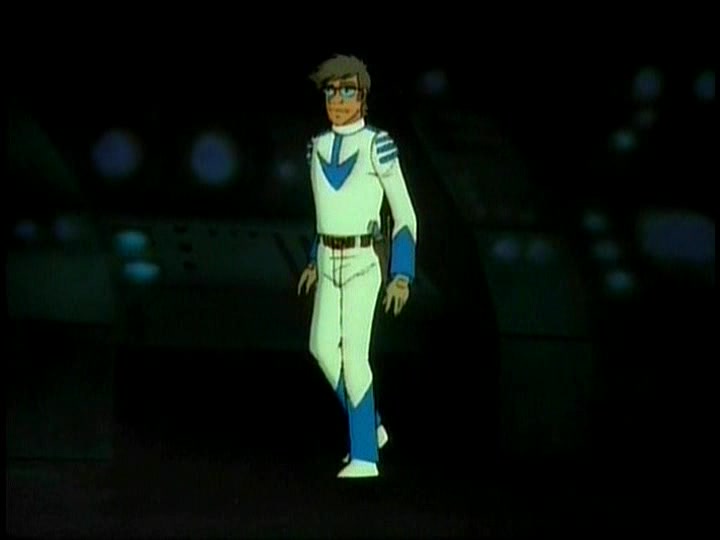
Hours later, in Doctor Sane’s medical bay, Wildstar regains consciousness. Doctor Sane has patched him up again, and the state of 23rd Century medicine is so good that there won’t be any evidence that he’s suffered any injury after this scene for the rest of the series. But there’s one last bitter piece of information that Wildstar has waiting for him.
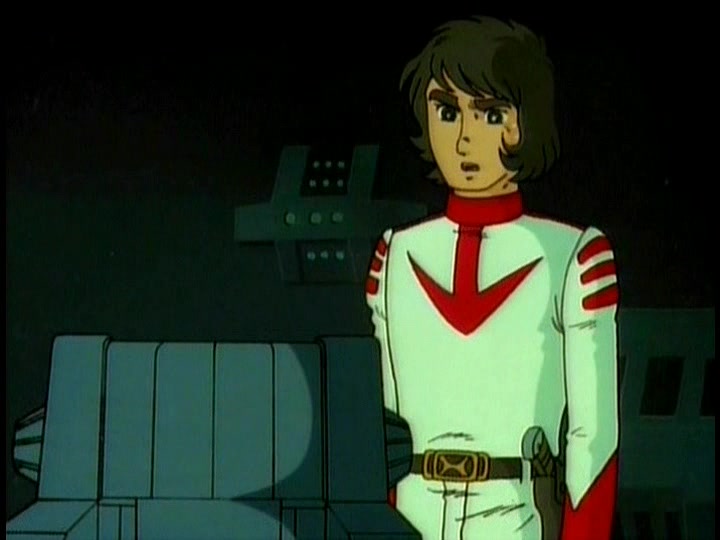
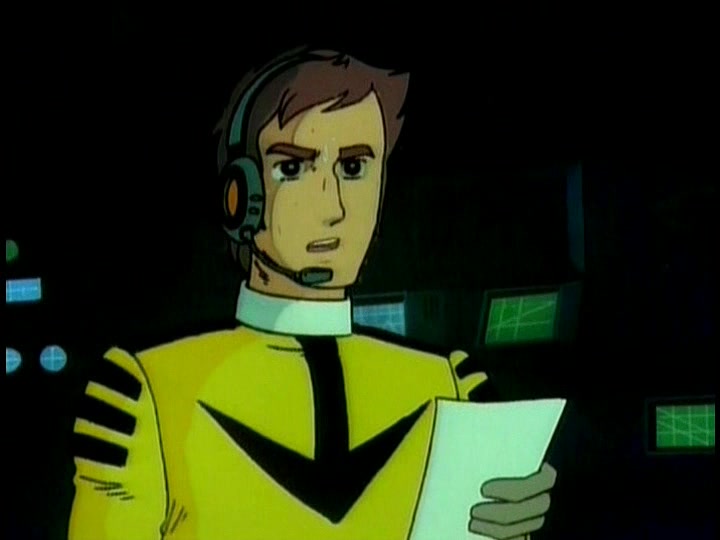
Making his way to the Argo’s bridge, he regards the glum crew, saying that they need to get underway back to Earth. Then his eyes fall upon Venture’s empty station. Nova tearfully tells him that Venture was lost trying to protect her–and, stunned, Wildstar slowly approaches his old friend’s chair. Sandor comes forward, puts his hand on Wildstar’s shoulder and nods, giving Wildstar permission to cry, which he does–again, a real rarity in a cartoon of this era, to see any character expressing this much emotion. Sandor says that he’ll get to work on the repair work to the ship, while Homer reports that he’s intercepted a message indicating tat representatives of Earth’s government are expected to sign the unconditional surrender aboard the Comet Empire shortly.


As the main staff assembles in the briefing room, Sandor tells them that the repair work will be completed in three hours–but that the Wave-Motion Gun has been damaged beyond repair in the crash (YAMATO 2 specifies that its striker bolt has been loused up.) Dash reiterates that the main guns are also badly damaged. All the Star Force has to fight with are torpedoes. (This limitation lasts only until the early part of the following episode, where the Argo unloads repeatedly with all of her guns, so perhaps they’re not quite as badly damaged as Dash believed.) But Nova reminds everyone of what Desslok said before he left, about attacking from the bottom. YAMATO 2 includes a lengthy flashback to that battle here, presumably to get some more action into an otherwise-quiet episode, but that’s cut from STAR BLAZERS. Also, Desslok’s hint in YAMATO 2 is about attacking “top and bottom”, which is why the strategy plays out as it does next. Also cut from STAR BLAZERS is a brief moment with Royster, where Wildstar tells him to display the schematic of the Comet Empire. Having realized that the character had no future, the STAR BLAZERS production team seemed to cut his scenes first when additional time was needed.
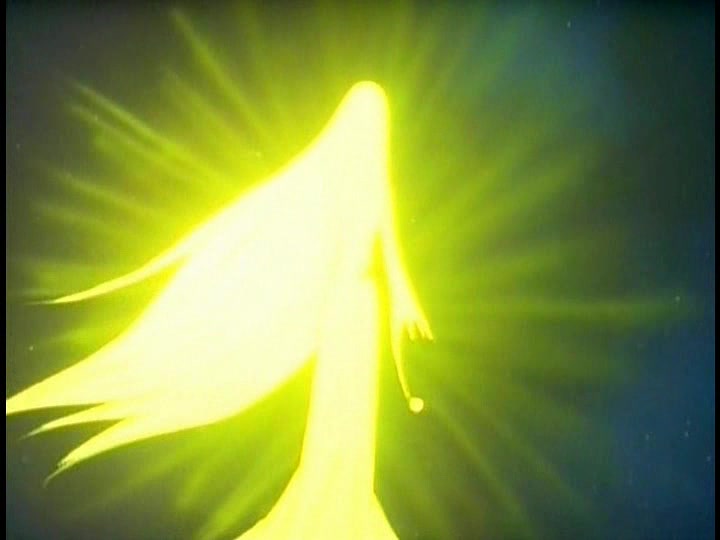
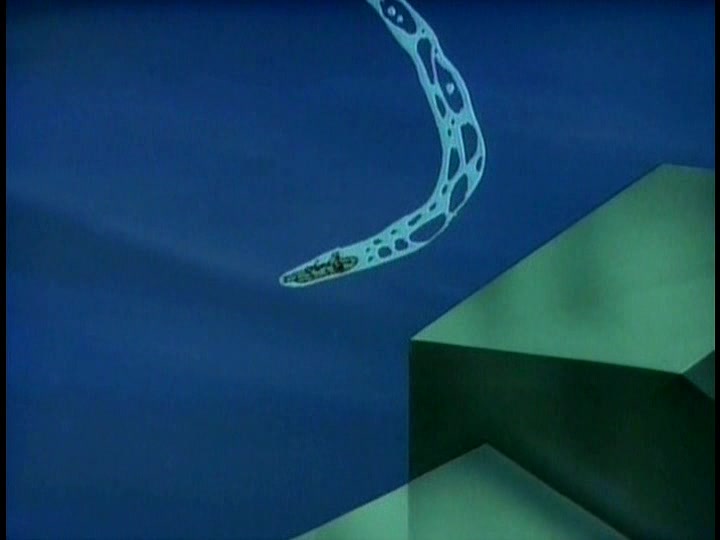
With the Comet Empire now in the sea outside of the capital city, Wildstar orders the Black Tigers to attack from the top as a diversion. (In YAMATO 2, this is a key part of the attack plan.) Meanwhile, IQ-9 will pilot the Argo in Venture’s place, as they submerge the ship and attack the Comet Empire from underneath with torpedoes. Swearing that this will be their final battle, the Star Force heads out in the still-battered Argo. Elsewhere in space, Venture’s lifeless body drifts along, eventually floating into a growing, glowing silhouette–Trelaina is still alive, and she has found him. But for all her vast power, she can not seem to revive his lifeless form.


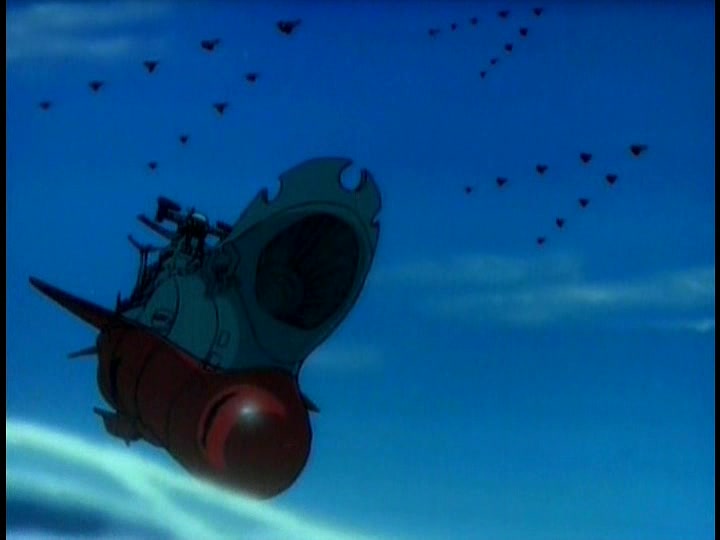

On Earth, the surrender delegation has set out for the Comet Empire for the official ceremony. On the docks, scared and uncertain citizens crowd around, praying for a miracle. While, high in the sky, the Argo enters the Earth’s atmosphere on full alert. Wildstar orders the Black Tigers to launch, and they do, flying in formation behind the battleship. The surrender party is expected to arrive at the Comet Empire in five minutes, and this whole sequence is about building tension, as their tiny craft gets closer and closer to the Comet Empire and the Star Force looms closer and closer from above, poised to strike.
On the Earth envoy ship, a message is received from the believed-dead Star Force: “The Star Force will begin an all-out attack on the Comet Empire at 09:00 hours Earth time. Please clear the battle area of all Earth ships at once!” The head diplomat tells the Commander that it’s too late for such an action and tells him to order the Star Force to stop. But he replies that they won’t listen–the Star Force would never surrender. The Commander orders the surrender boat to return to the port. “It’s the last chance we have. It’s up to them–the Star Force!”
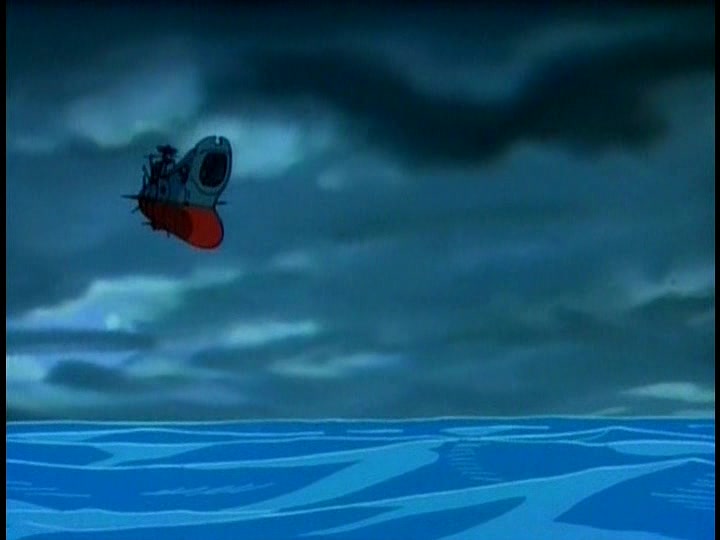
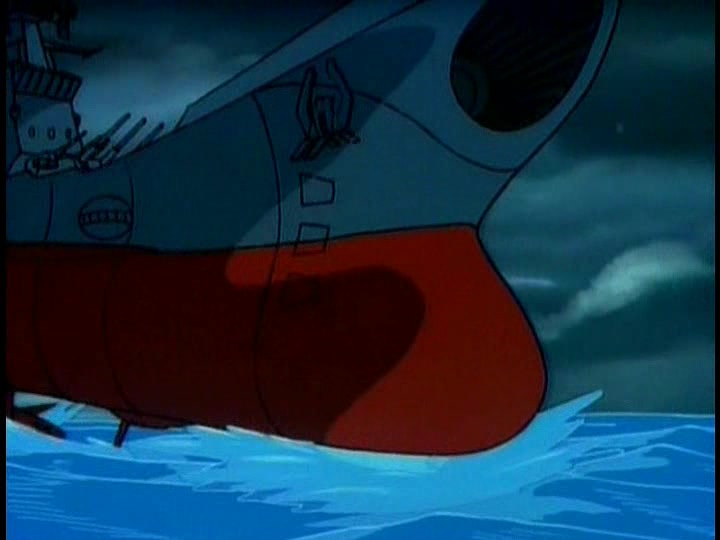


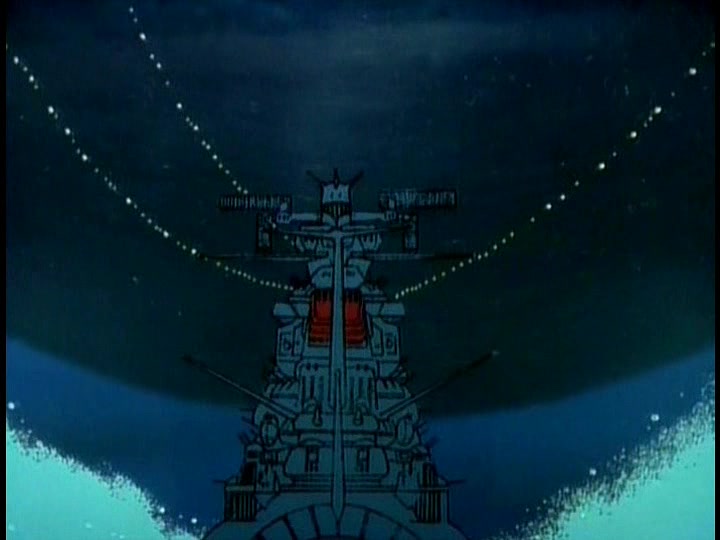
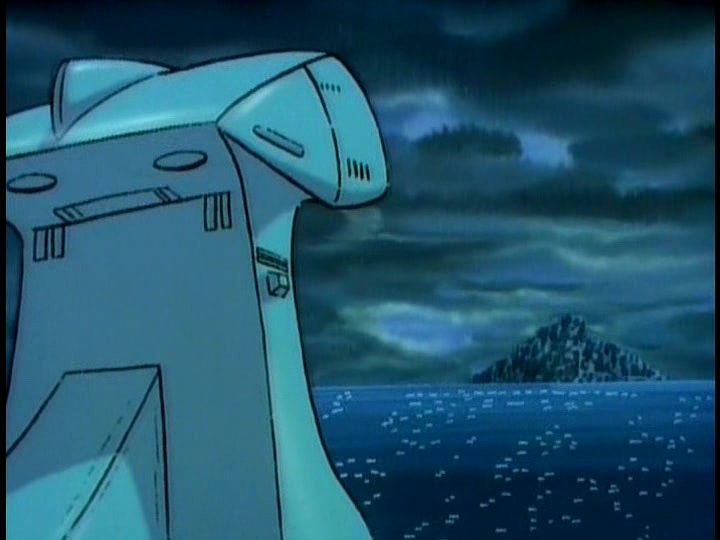
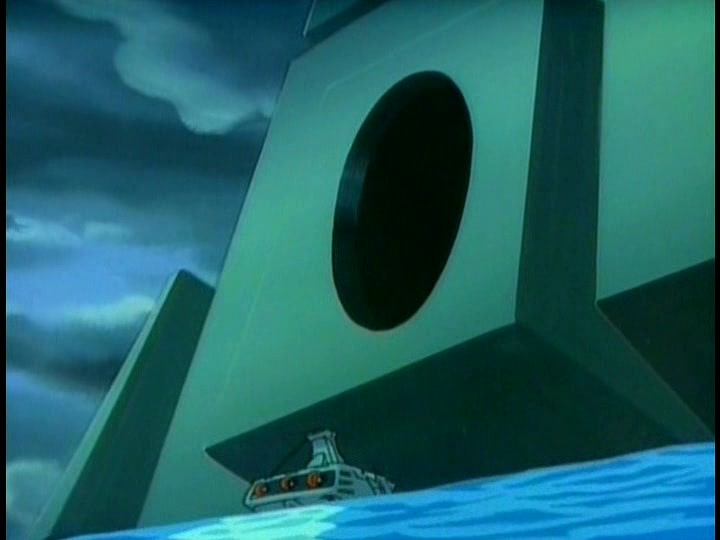
In a lovely bit of smooth animation, the Argo descends from the sky and arcs into the sea, bouncing once and then submerging. In the skies, Conroy and the Black Tigers begin their power dive towards the comet Empire–while near the great city, the Earth envoy ship turns around. The waiting General Dire is puzzled by what they’re doing until he is given word that enemy planes have been detected above.
Down below, the Star Force opens the Argo’s torpedo tubes and prepares its assault on the Comet Empire. And that’s where the episode and indeed the week’s broadcast ends–a long distance away from where the story was just one week earlier. We were closing in on the climax now, not that anybody watching for the first time knew that for certain at this point. But Monday would tell the tale.

I wonder if the Earth leaders having to travel by boat to sign surrender papers at the Comet Empire was a nod to the way that Japan had to surrender at the end of WWII in Tokyo Bay?
LikeLike