

EPISODE 35
“My name is Mazer. I don’t know what to do!” – Mazer
And so we reached the end of another broadcast week of STAR BLAZERS, this time with an episode that owed much of its structure and dramatics to EPISODE 13. But while that previous installment was designed to give us greater insight into the history and upbringing of Derek Wildstar, this one is much more focused on the Comet Empire pilot that the Star Force captures, and how similar he is to any Earthman. the STAR BLAZERS adaptation makes a few choice adjustments to the original storyline, as we shall see–in particular, excising a sequence that makes the Star Force seem no better than the opponents they fight.


The episode opens with the Star Force making a regularly-scheduled communication with Earth headquarters. While their improved equipment allows them to stay in contact with Earth over much greater distances than when they went to Iscandar, the transmission quality is poor and the channel can only be held for a short time. Reporting in, Wildstar must confess that they haven’t learned anything else useful about the mysterious enemy approaching Earth. The Commander stresses that getting intel on the Comet Empire is crucial, so they can know what mankind is facing.
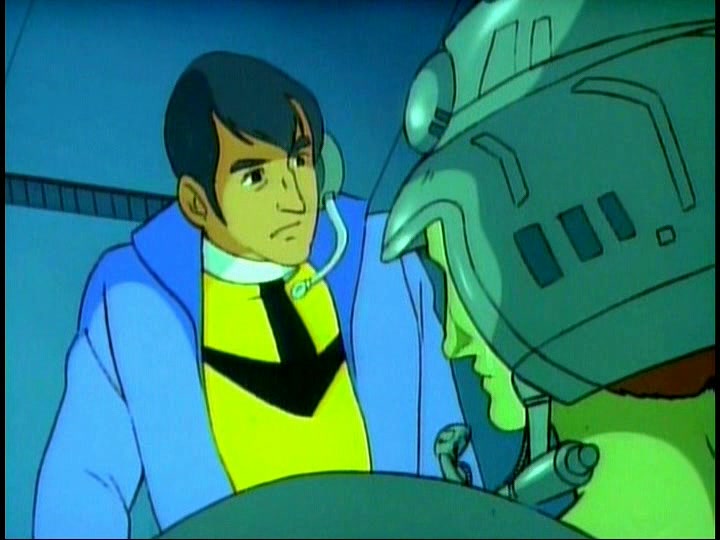
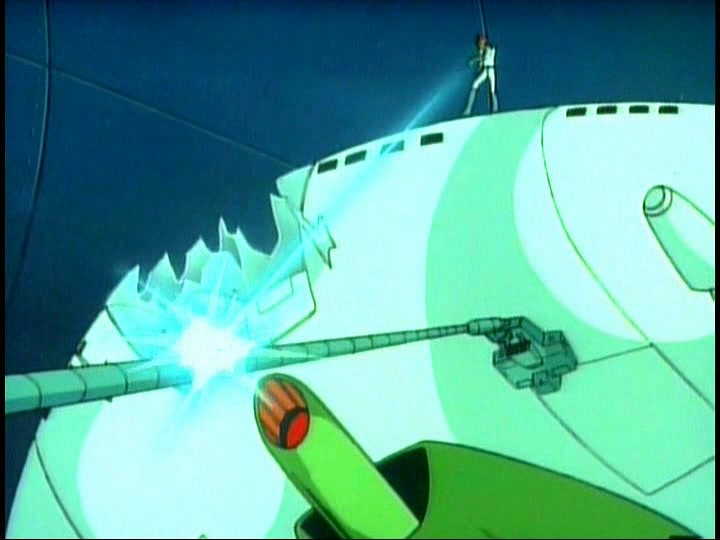
Moments thereafter, Eager picks up a blip on the radar. It’s a solitary Comet Empire plane, of the type that attacked Planet Brumis and that Wildstar saw in the skies the night of the blackout. The Star Force has no idea why it might be flying all on its own, but it almost doesn’t matter. Wildstar scrambles the Black Tiger squadron to foray out and intercept it. Down in the hanger, as the pilots take to their planes, Sergeant Knox appears, and he cold-cocks Hardy, knocking the pilot to the ground so that Knox can take Hardy’s Astro-Fighter out himself after the enemy.


Knox isn’t an experienced pilot, though, and he almost crashes his stolen ship into the Argo’s conning tower before getting some control over it. Meanwhile, Conroy has closed with the enemy plane and demanded it identify itself, which causes it to turn and open fire on him. A dogfight ensues. Back on the bridge, Wildstar sees an opportunity to get some much-needed information and he orders Conroy and Knox not to destroy the enemy ship, but rather to capture it, so that they can study it and interrogate the pilot.
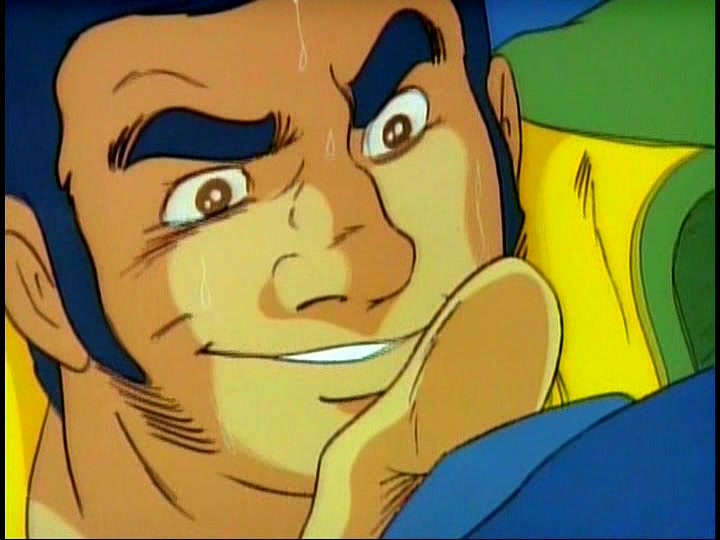
Knox is outraged at this order–he’s still smarting from the losses the marines took on Brumis and he’s hungry for revenge. “You know what you can do with your orders! If I get him in my gun sights, he’s a goner!” But that doesn’t seem to be likely, as Knox almost collides with both the enemy plane and Conroy as he struggles to stay in the fight. Ultimately, Conroy is able to disable the enemy plane with some precisely-placed shots–but despite the fact that the enemy is helpless, Knox will not relent. He fires a few rounds through the ship’s hull–and the fact that they tear through the bodies of two Comet Empire crewmen, killing them, is mercifully cut from STAR BLAZERS.


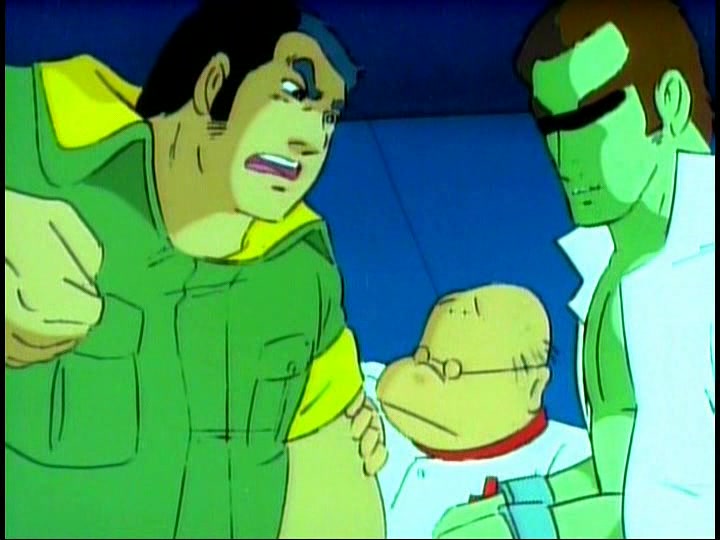
Back at the Argo, Knox brags about his accomplishment until Conroy points out that he disobeyed orders to do so. STAR BLAZERS cuts the moment when Hardy races up and decks Knox but leaves in the two of them about to square off before Sandor breaks things up. Down in the medical bay, Wildstar has to order the curious crewmen back to their stations–everybody is interested to learn what the deal is with this new enemy.
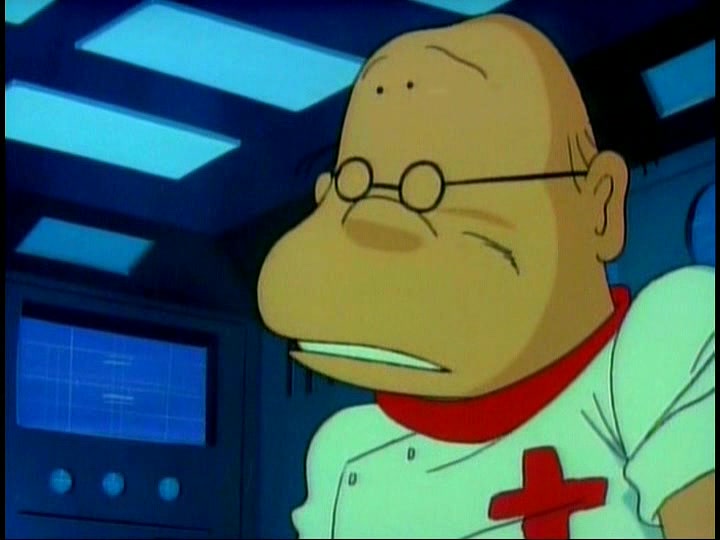
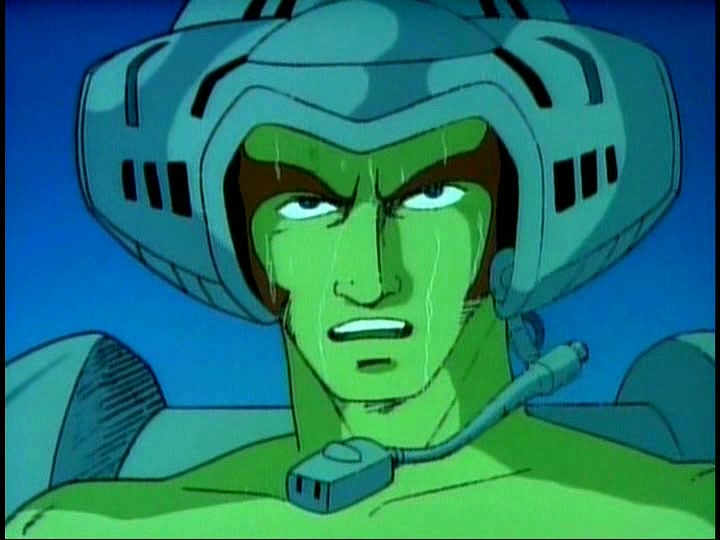
Doctor Sane makes a comparison of the prisoner and one of the Star Force crewmembers, and his findings indicate that, other than the prisoner’s green-hued skin, his biology is identical to that of human beings. Needing information, Wildstar tells Doctor Sane that he wants the prisoner handed over to Peale for interrogation. The Doctor clearly doesn’t want to give up his specimen, but Wildstar makes it an order. Knox wants to take a poke at the restrained and blindfolded prisoner as Dr. Sane and Nova take him to the interrogation room, but the Doctor won’t allow it. (In YAMATO 2, Knox muses, “Damn. I should have killed him earlier like I did the other guy.“)
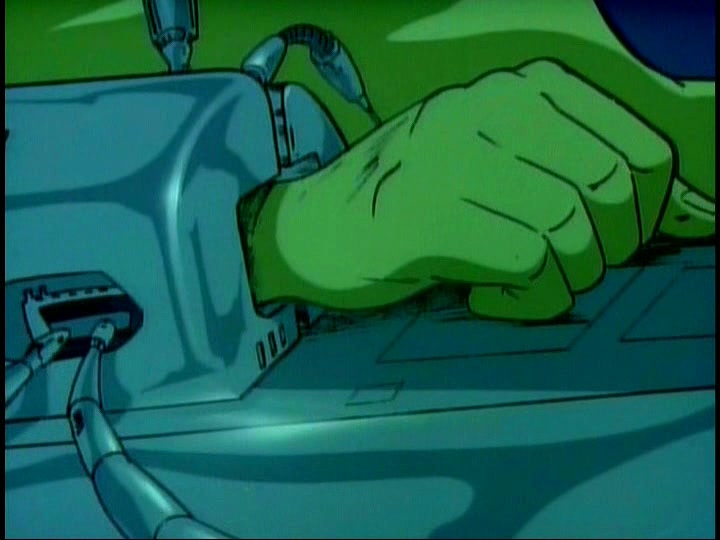
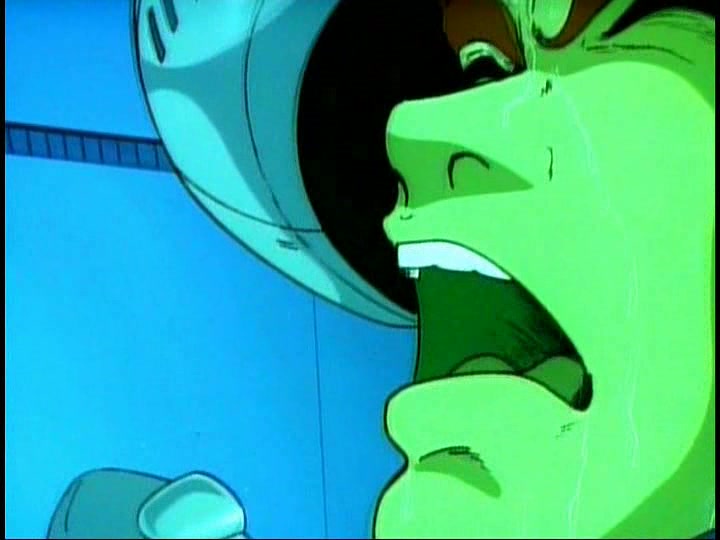

And now we come to the scene that STAR BLAZERS tries mightily to disguise, but ultimately fails to do so. It’s where the Star Force straps their prisoner into an electric chair and tortures him for information. This sequence is cut up into swiss cheese in STAR BLAZERS, but it’s still impossible not to figure out what’s happening, despite assurances that “This machine will let us know if he’s telling the truth.” The music score and the direction of the scene do not lie. And what’s worse, the rest of the crew gets to watch it all happen from the observation lounge. I wonder if they sold popcorn.
YAMATO 2 is way more direct and overt about this–a cultural difference and a difference in the era, I suspect. But even there, Nova can’t stand what’s happening and Wildstar is disquieted by what they’re doing all throughout the sequence (even though, as the Deputy Captain, he can stop it at any time.) In both cases, though, the result is the same: the Star Force gets nothing useful in the way of information and Wildstar turns the prisoner over to Doctor Sane’s custody.

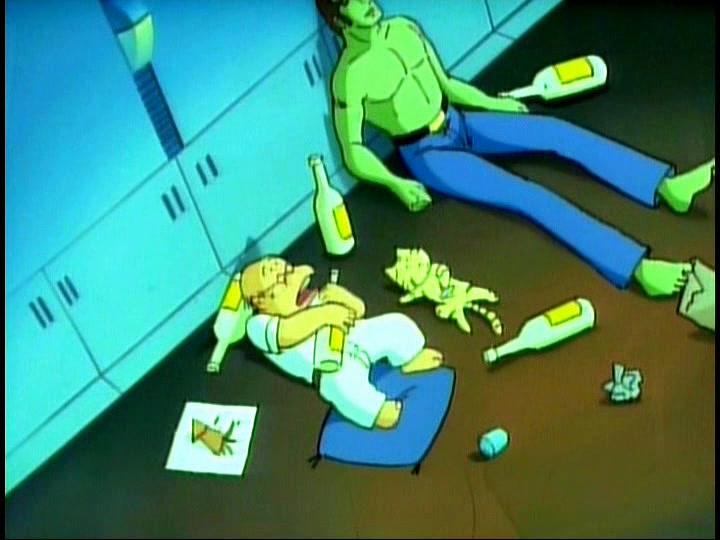


There’s some more editing done after we come back from commercial, as Nova tells the bridge crew that Doctor Sane has “fixed him some lunch, and now they’re sitting around drinking milk together.” By this point, I think we all know what that means–and in YAMATO 2, it’s true, Doctor Sane and the Comet Empire pilot get drunk off their asses on sake. A bit of this sequence is cut, making for a really odd transition in STAR BLAZERS where the two are drinking one minute and the prisoner is in mid-escape the next–but there wasn’t much that could be done given that you couldn’t have shown the two men passed out amidst empty sake bottles in the States on a kids’ show at that time.
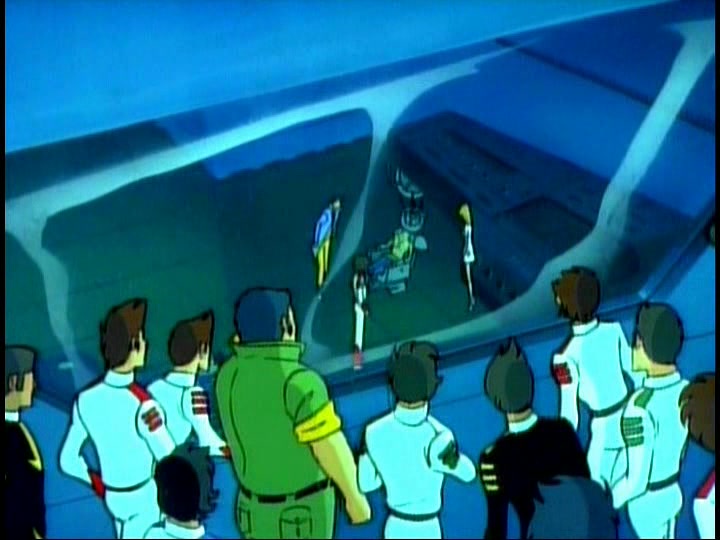
Anyway, the enemy pilot’s constitution for the grape is even greater than Doctor Sane’s, and once the Doctor is three sheets to the wind, he takes the opportunity to make his move, stealing a space suit and a weapon and working his way through the ship towards the flight deck. becoming aware of the enemy’s movements, Wildstar opts to let him go, with the objective of following him back to his base. And angry Knox makes his way to the bridge to complain about the hands-off policy, but everything goes according to scheme–the Comet Empire pilot frees his craft from where it is moored alongside the Argo and heads back towards home.


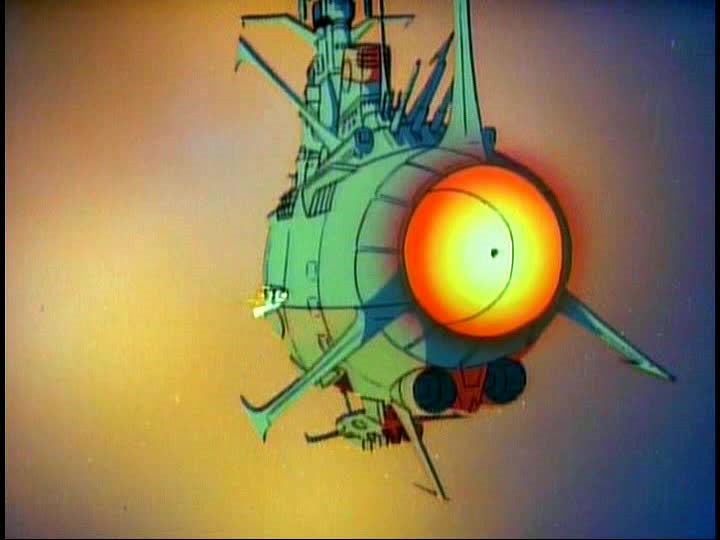
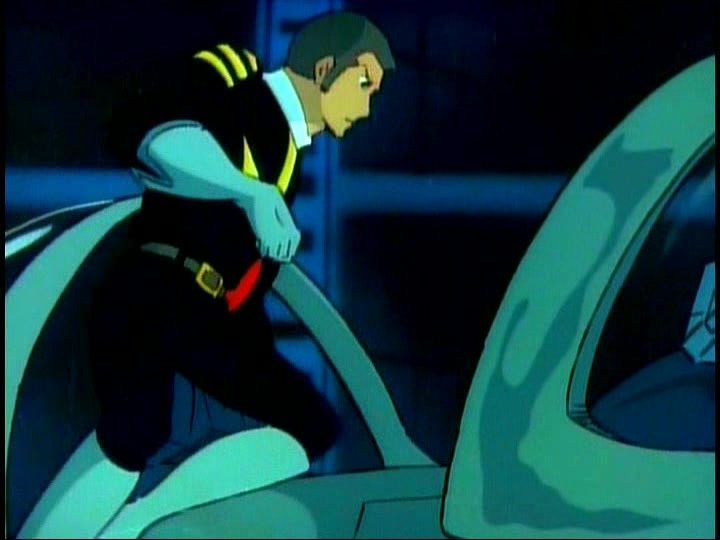
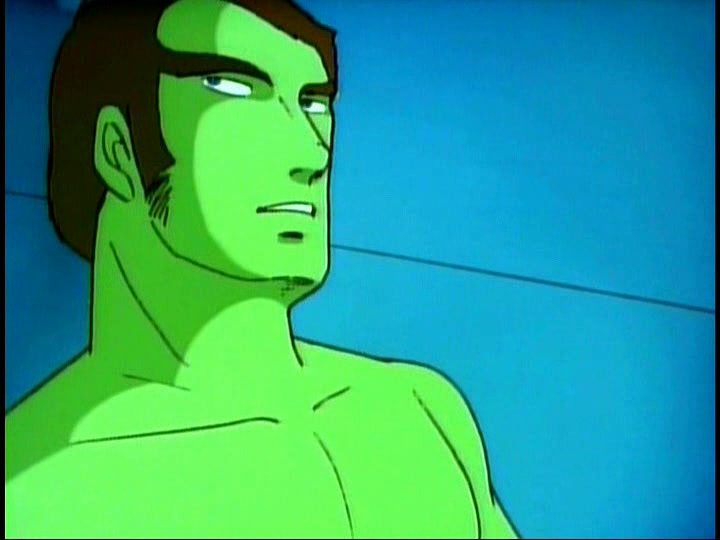
As the pilot approaches his home fleet, we learn that his name is Mazer. But unfortunately for Mazer, the Comet Empire doesn’t accept returning prisoners under any circumstances, considering them tainted by the enemy. Mazer pleads with his commanding officer to allow him to land, but he is rebuked, and almost plows his ship into the flagship. Wildstar sees his chance and invites Mazer back aboard the Argo not as a prisoner but as a fellow soldier. He hopes that now Mazer will give them all the information they need. Mazer’s ship turns around and heads back towards the Argo, but nobody on board is quite sure what his intentions are.
And here again, STAR BLAZERS makes a significant change from its YAMATO 2 source material. In STAR BLAZERS, Mazer is conflicted, the Star Force on pins and needles as his plane arcs around the Argo and impacts against the side of the ship. It’s left to Sandor to wonder, “What was he trying to do, land or attack?” It’s a very nice bit of characterization in its uncertainty. But YAMATO 2 offers no uncertainty as, in the seconds before his ship collides with the Argo, Mazer cries out, “All glory to the great Comet Empire!” There is no question that this is a kamikaze attack, and Sandor’s question in this instance is, “Why didn’t he come straight at us?”

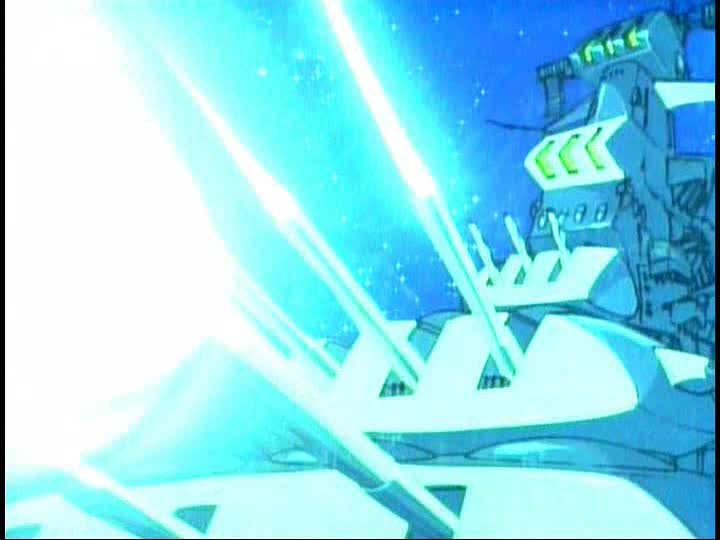


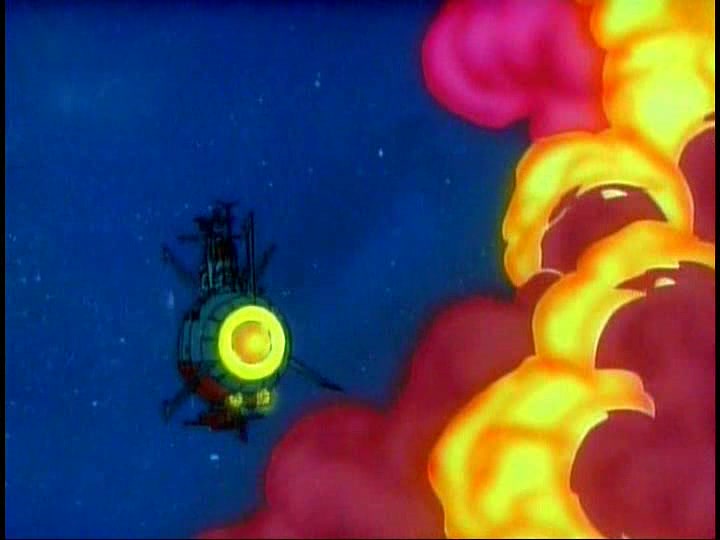
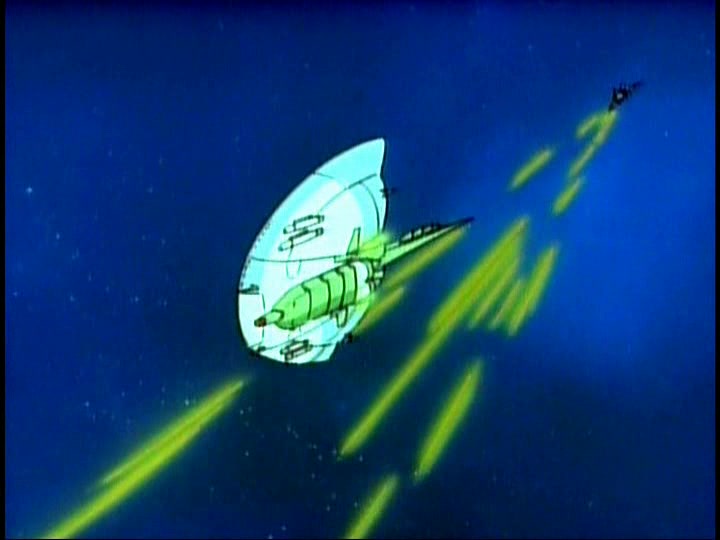
The episode ends on a bit of perfunctory action as, in what is becoming a stock sequence for the show, the Star Force swiftly and decisively annihilates a much larger enemy force. The Comet Empire doesn’t even get to put up much of a fight here, it’s like a shooting gallery as their ships are blown out of space one by one. I suppose if Mazer had been allowed back to his base ship, he’d still be just as dead at this moment.
And that’s how things were left going into the weekend, with the Star Force still following a trail of bread crumbs that was leading them closer and closer to Telezart, and Desslok waiting in the wings with the Comet Empire to prevent that from happening. The next week would be a bit on the slow side as well, though there were a few developments of note, as we will see as this series continues.
